Images
Want to learn more about putting in images into your website? You’ve come to the right place.
The Basics
Adding Images
At this point, you might have added a project or two, and want to start adding some of your own images—exciting! The most basic way to include an image is by using plain old YAML markdown.
- Upload the image and place it into the images folder, located in assets
- Link the uploaded image in your code
In the code, it looks like this:

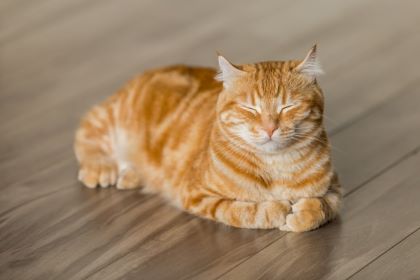
Here is the outcome:

The text in the brackets [] is called alt text. Alt text is the written description of an image that displays in place of the image on the webpage if the image fails to load. Alt text is also used by screen readers and search engines. It is important to always include alt text for the purpose of making images accessible to users who rely on screen readers.
The code in the parentheses uses Liquid to prepend the site’s baseurl to the image path, and it is necessary when you want to use Markdown to include images that you have stored in /assets/images/. The image path itself must be in quotation marks. You can copy and paste the code above into your own page or project and change the alt text to an appropriate image description and the filename (in this case the filename is default-1.jpg) to the filename of the photo you want to include.
Externally Hosted Images
Let’s say you would like to include an externally hosted image, such as one from an online library database or digital gallery. All you need to do is put the image’s url into the markdown code for images. The image will appear in the location where you place your line of code.
In the code, it looks like this:
)
<figcaption> Cat on shoe shine stand taken by Angelo Rizzuto in 1960. Anthony Angel Collection (Library of Congress). </figcaption>
Here is the outcome:

Here, I’ve linked a photo from the Library of Congress to the page. As long as it is still visible on the linked website, it will be visible on yours.
Follow this link to learn more about Markdown syntax
Adding Captions
The previous example also included a caption underneath the image. In order to add captions to images, you can use an HTML command in Minimal Mistakes called figcaption. All you need to do is enclose your text in the following HTML syntax and place it beneath the image in your Markdown code.
<figcaption> Your Caption Here. </figcaption>
Aligning Images
Images are set to left align by default, though images that are large enough, such as the above examples will fill the same width as the text area and appear to be centered. Below is a smaller image with the same code you’ve already learned.

Which appears as:
In order to center this image we can add the information “:. align-center” in curly braces {} to the end. This is how it appears in the code:
{: .align-center}
And how is appears on the page:
You can also align the image left or right using {: .align-left} or {: .align-right} at the end of the image code, just like the center align shown above.
Note that left and right aligned images will automatically wrap text around the image. As you see here, this image is aligned right, and the text of this paragraph moves to fill around the shape of it.
Image Galleries
One of the most basic ways of displaying multiple images is through a gallery. Galleries are grids of images which can be modified and tailored however you want. To put in a gallery, you can use a type of code syntax called Liquid. Liquid is a templating language used in Jekyll that communicates with HTML code and your YAML front matter to “call” the gallery which makes it appear on your page. Its syntax is characterized by curly brackets: {}.
For example, if I want to input an image gallery below, I would use the following Liquid code:
{% include gallery caption="Here I've changed the caption." %}
The result looks like this:

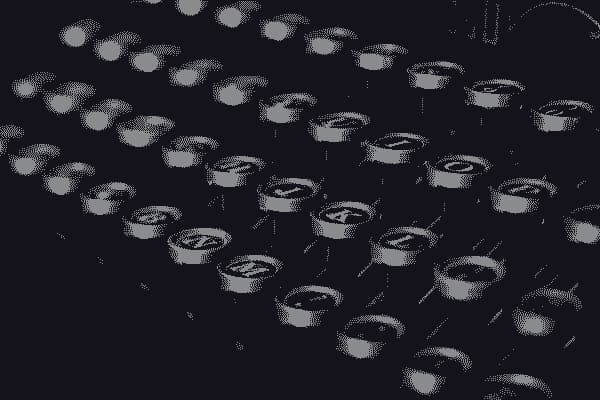
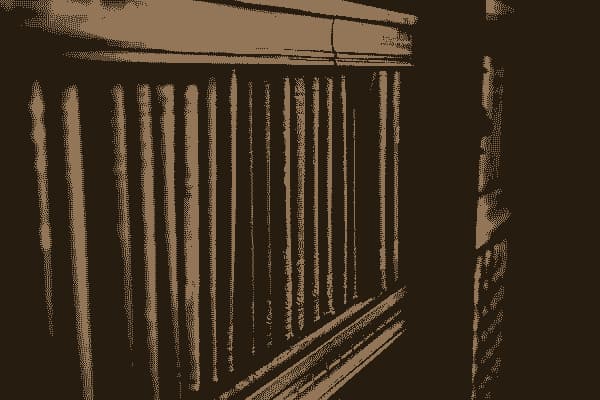
By changing the layout to “half,” we get a two-column gallery:
In the code, it looks like this:
{% include gallery layout="half" caption="Here I've changed the caption." %}
For galleries, you can update the gallery caption by using the command caption="text" and including it in the liquid code. To change the captions of each individual image, you need to input each caption in the YAML front matter under title, which will be visible if you click on the image.
For individual image captions, the front matter looks like this:
gallery:

    - url: /assets/images/default-1.jpg
    image_path: /assets/images/default-1.jpg
    alt: "placeholder image 1"
    title: "Image 1 title caption"

    - url: /assets/images/default-2.jpg
    image_path: /assets/images/default-2.jpg
    alt: "placeholder image 2"
    title: "Image 2 title caption"

    - url: /assets/images/default-3.jpg
    image_path: /assets/images/default-3.jpg
    alt: "placeholder image 3"
    title: "Image 3 title caption"

    - url: /assets/images/default-4.jpg
    image_path: /assets/images/default-4.jpg
    alt: "placeholder image 4"
    title: "Image 4 title caption"
However, the front matter will not create a gallery on its own, and you must call your gallery by using the Liquid syntax from before. Where you place the Liquid is where the gallery appears.
To learn more about creating galleries in Minimal Mistakes, click here
What does layout do?
Adding the layout feature / code changes how many columns are displayed in the gallery. In order to change the three column default, I wrote layout="half" which specifies that I want two columns side by side instead of three columns.
Excluding the layout command from the liquid code would revert to the three-column gallery default.
Image Compression
Image compression uses code to reduce an image’s size in bytes.
One of the easiest ways to improve the speed and sustainability of a site is through images. Images and media are heavy and take up a lot of space and loading time on websites. The longer a website takes to load, the more carbon emissions are produced. To address our website’s carbon footprint, all our images are compressed to be smaller than 200 kilobytes (KB).
The smaller the images, the faster a site will load, and the more sustainable it will be. These adjustments will create a better overall experience for users of a given site. To read more about image compression and sustainability, click here.
To compress images, you can use an online compression tool of your choice. These tools use code to reduce the file size.
Compression Tools
Here are some sites that compress files for free:
-
Image compression tool: Squoosh editor
-
Dithering tool: Dither It!
-
Compression tool (png): Tiny PNG
General rules of thumb:
-
Only include images and media that are necessary
-
When including images, compress them. 100 KB or fewer is generally a good size (especially for decorative images); however, images may need to be larger if showing intricate details, such as 500 kb
-
Anything more than 1 MB probably too large
Going Further
Resources
-
To learn more about Liquid syntax, check out this resource: Introduction to Liquid
-
To learn more about creating galleries in Minimal Mistakes: Post: Gallery on galleries by Michael Rose
-
To learn more about embedding images: Getting Images into Markdown Documents and Weblog Posts with Markdown Monster